Data Protection Using Encryption
Overview
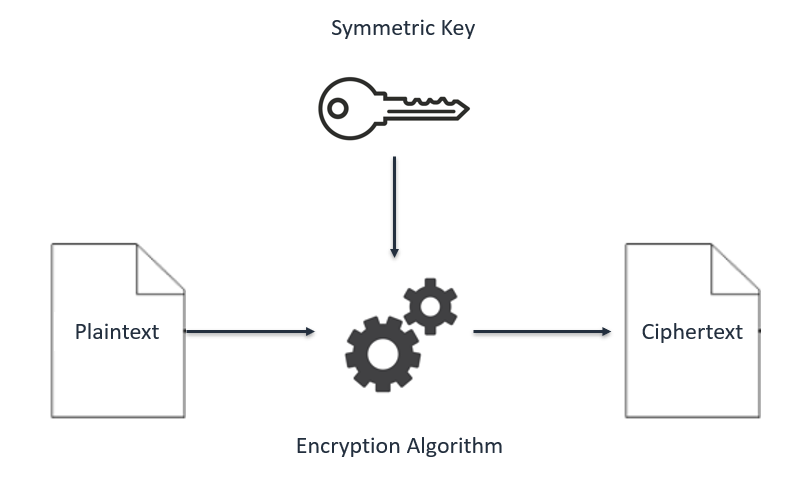
Cryptography is the conversion of communicated information into secret
code that keeps the information confidential and private. Functions
include authentication, data integrity, and nonrepudiation. The central
function of cryptography is encryption, which transforms data into an
unreadable form.
Encryption ensures privacy by keeping the information hidden from people
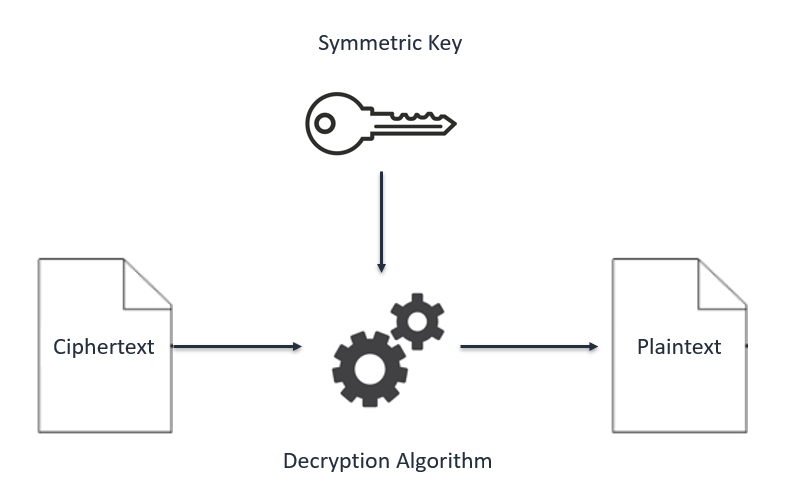
who the information is not intended for. Decryption, the opposite of
encryption, transforms encrypted data back into data; it won't make any
sense until it has been properly decrypted.
I connected to a file server that is hosted on an Amazon Elastic Compute
Cloud (Amazon EC2) instance. I configured the AWS Encryption command
line interface (CLI) on the instance. I created an encryption key by
using the AWS Key Management Service (AWS KMS). The key was used to
encrypt and decrypt data. Next, I created multiple text files that were
unencrypted by default. I then used the AWS KMS key to encrypt the files
and viewed them while they were encrypted. I finished by decrypting the
same files and viewing the contents.
Objectives
After completion , I was able to:
- Create an AWS KMS encryption key
- Install the AWS Encryption CLI
- Encrypt plaintext
- Decrypt ciphertext
Task 1: Create an AWS KMS key
In this task, I created an AWS KMS key that I later used to encrypt and
decrypt data.
With AWS KMS, I could create and manage cryptographic keys and control
their use across a wide range of AWS services and in my applications.
AWS KMS is a secure and resilient service that uses hardware security
modules (HSMs) that have been validated under the Federal Information
Processing Standard (FIPS) Publication 140-2, or are in the process of
being validated, to protect my keys.
In the console, I entered KMS in the search bar, and then chose Key
Management Service.
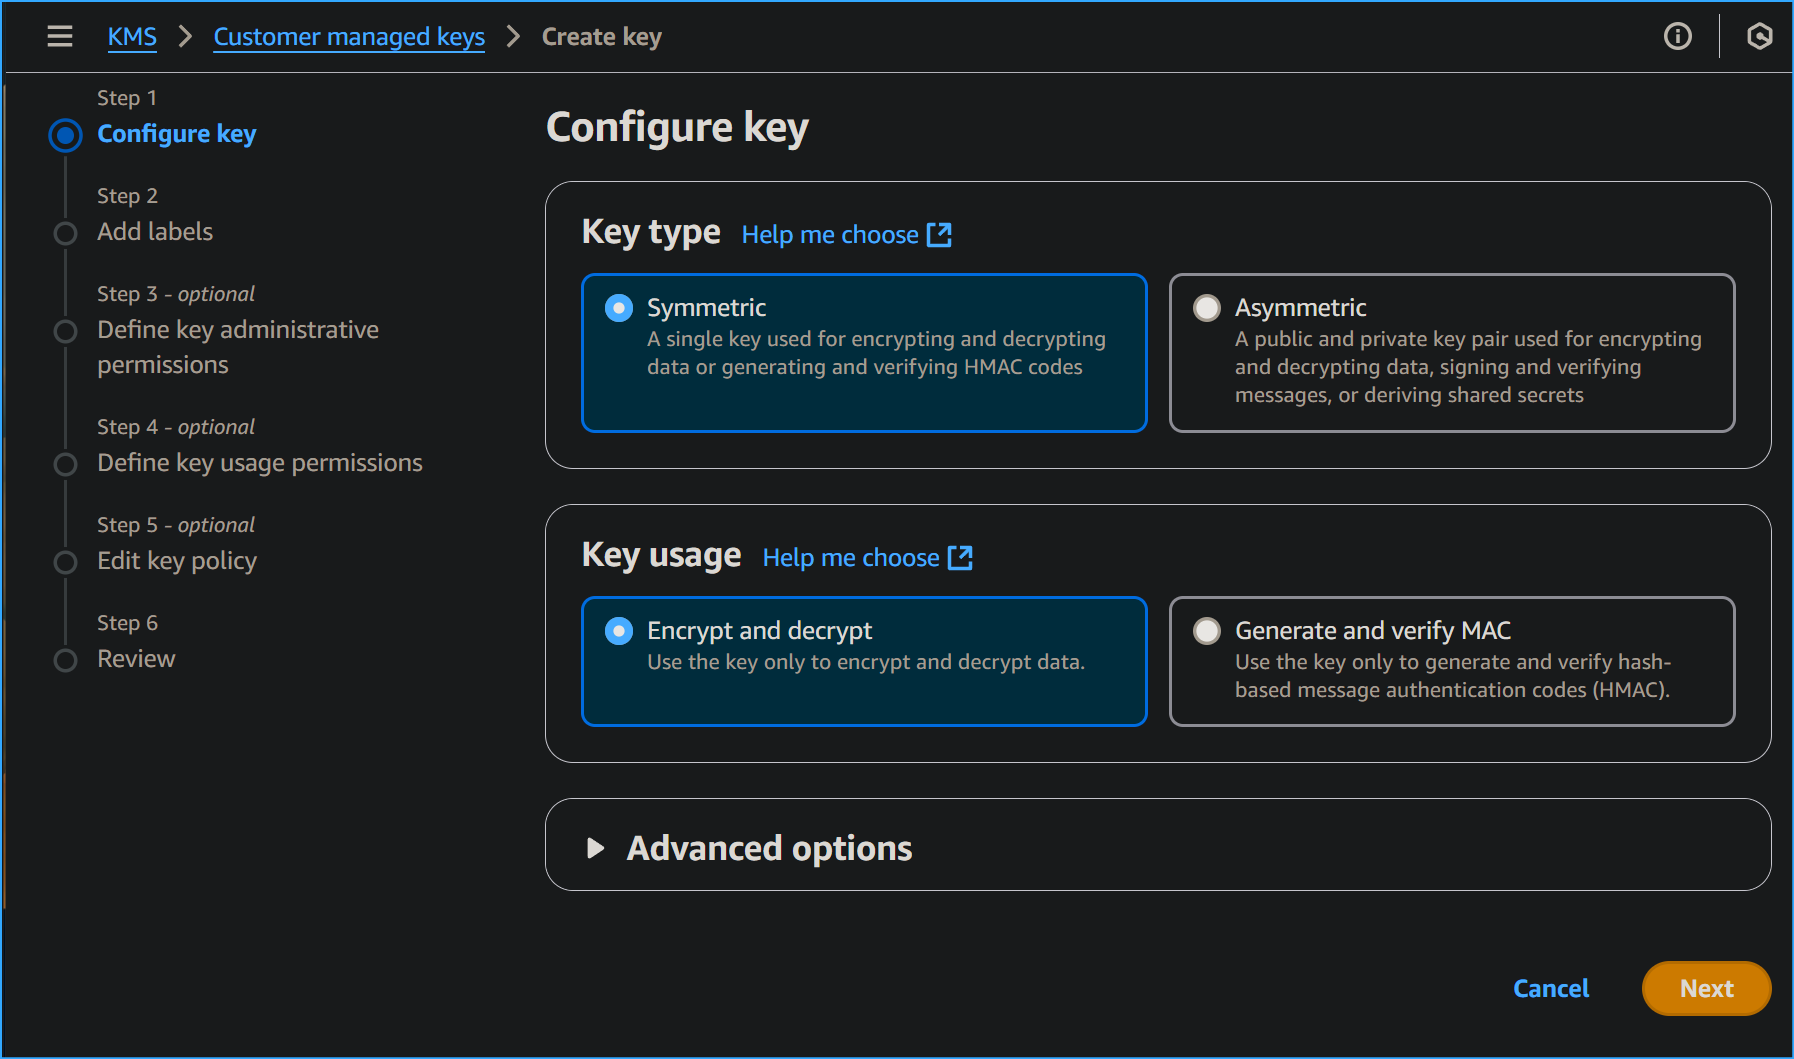
I chose Create a key.
For Key type, I chose Symmetric, and then chose Next.
Symmetric encryption uses the same key to encrypt and decrypt data,
which makes it fast and efficient to use. Asymmetric encryption uses a
public key to encrypt data and a private key to decrypt information.
On the Add labels page, I configured the following:
- Alias: MyKMSKey
- Description: Key used to encrypt and decrypt data files.
I chose Next.
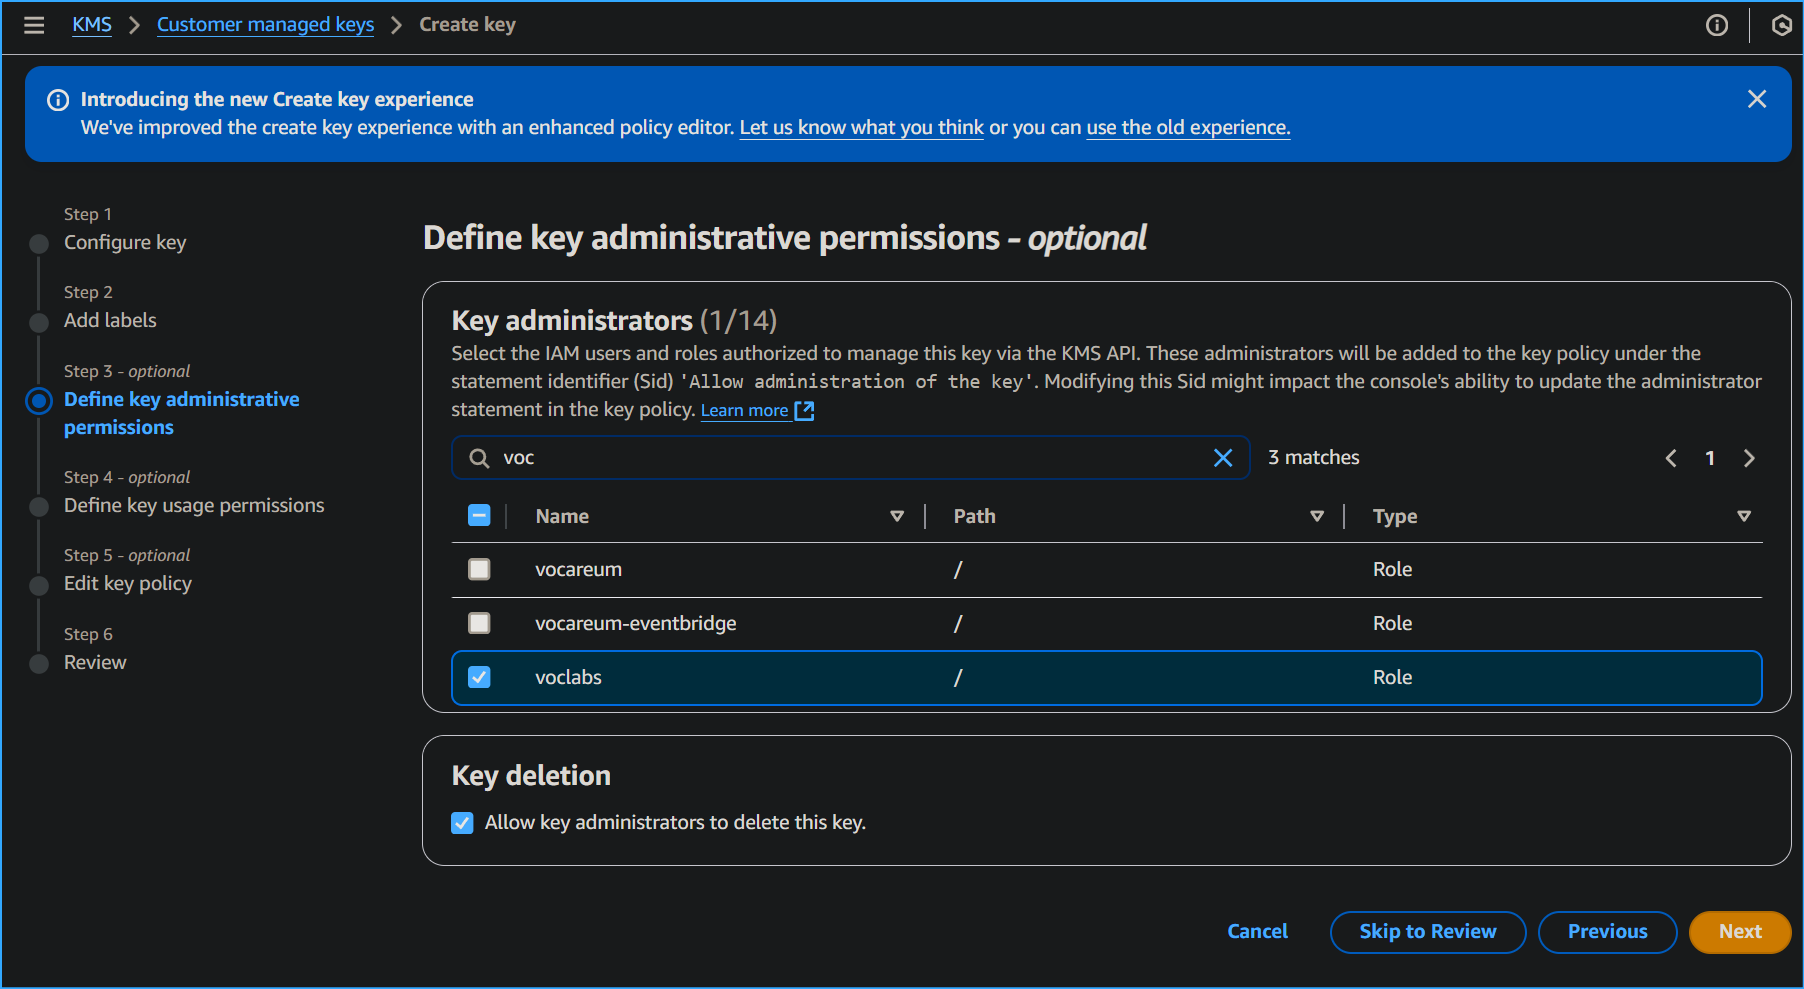
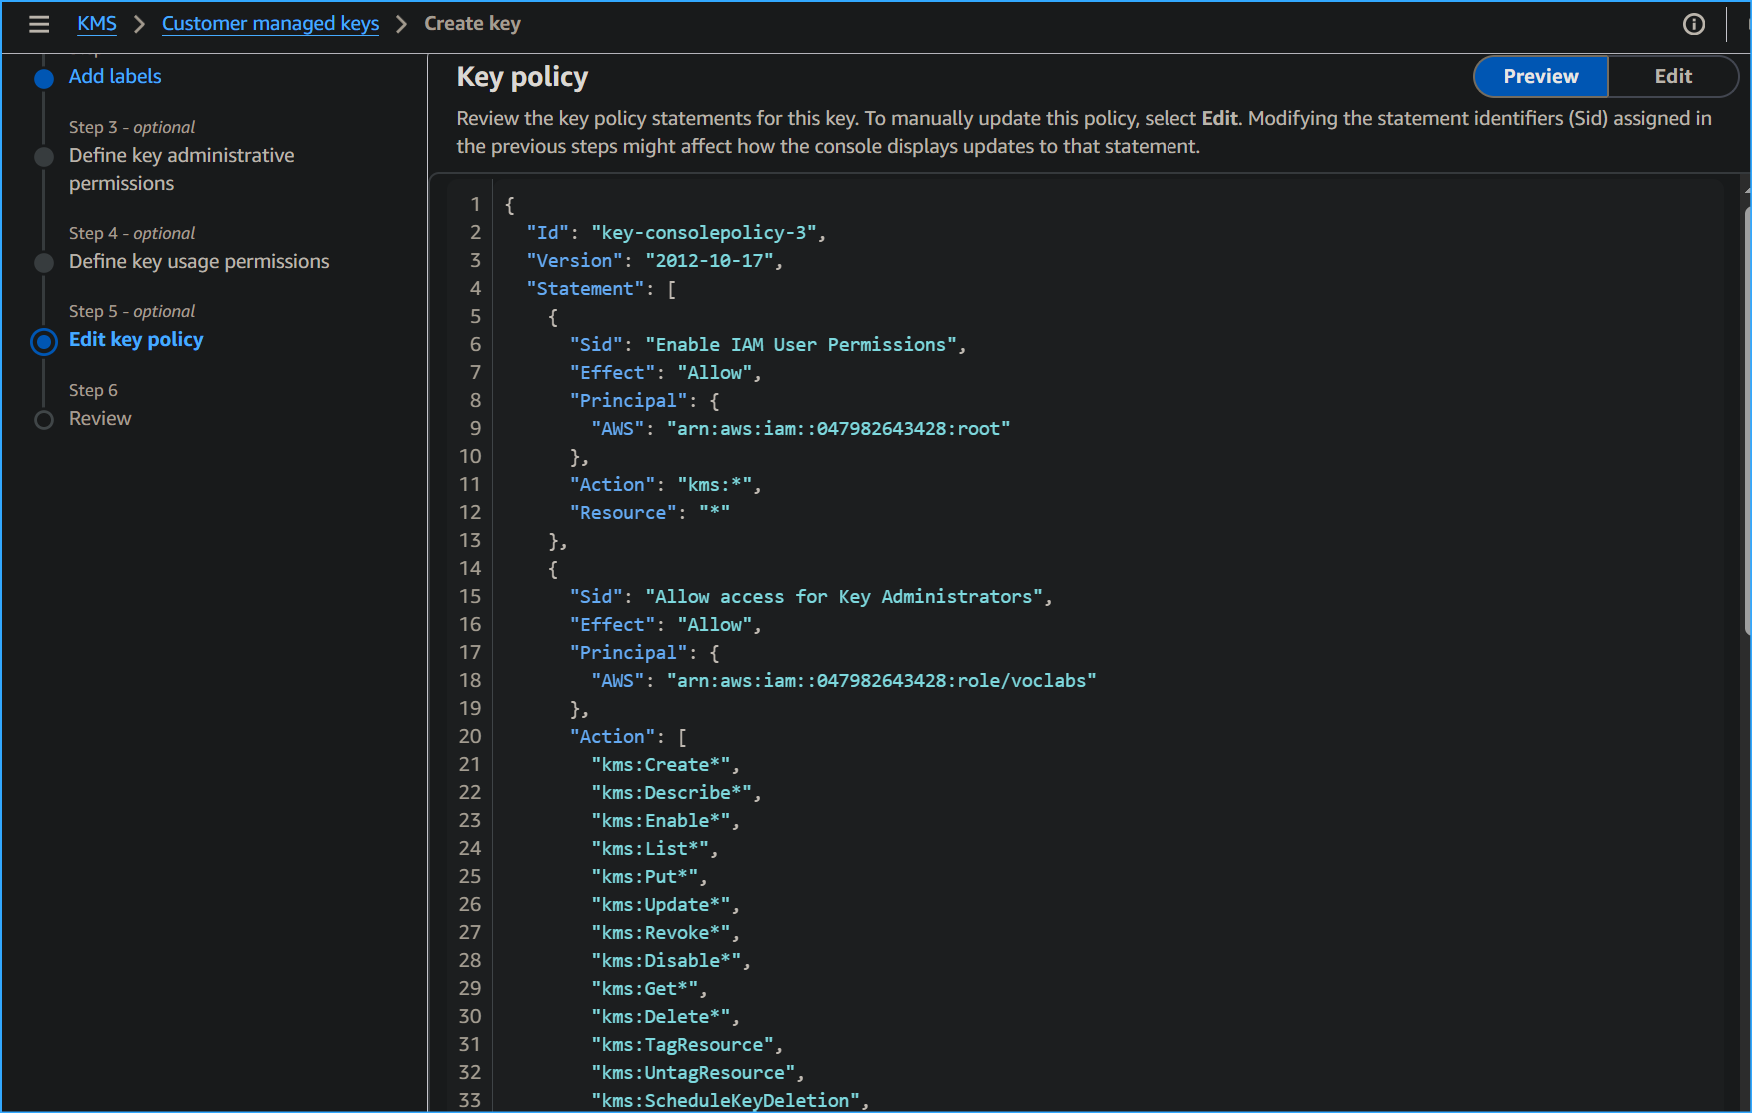
On the Define key administrative permissions page, in the Key
administrators section, I searched for and selected the check box for
voclabs and then chose Next.
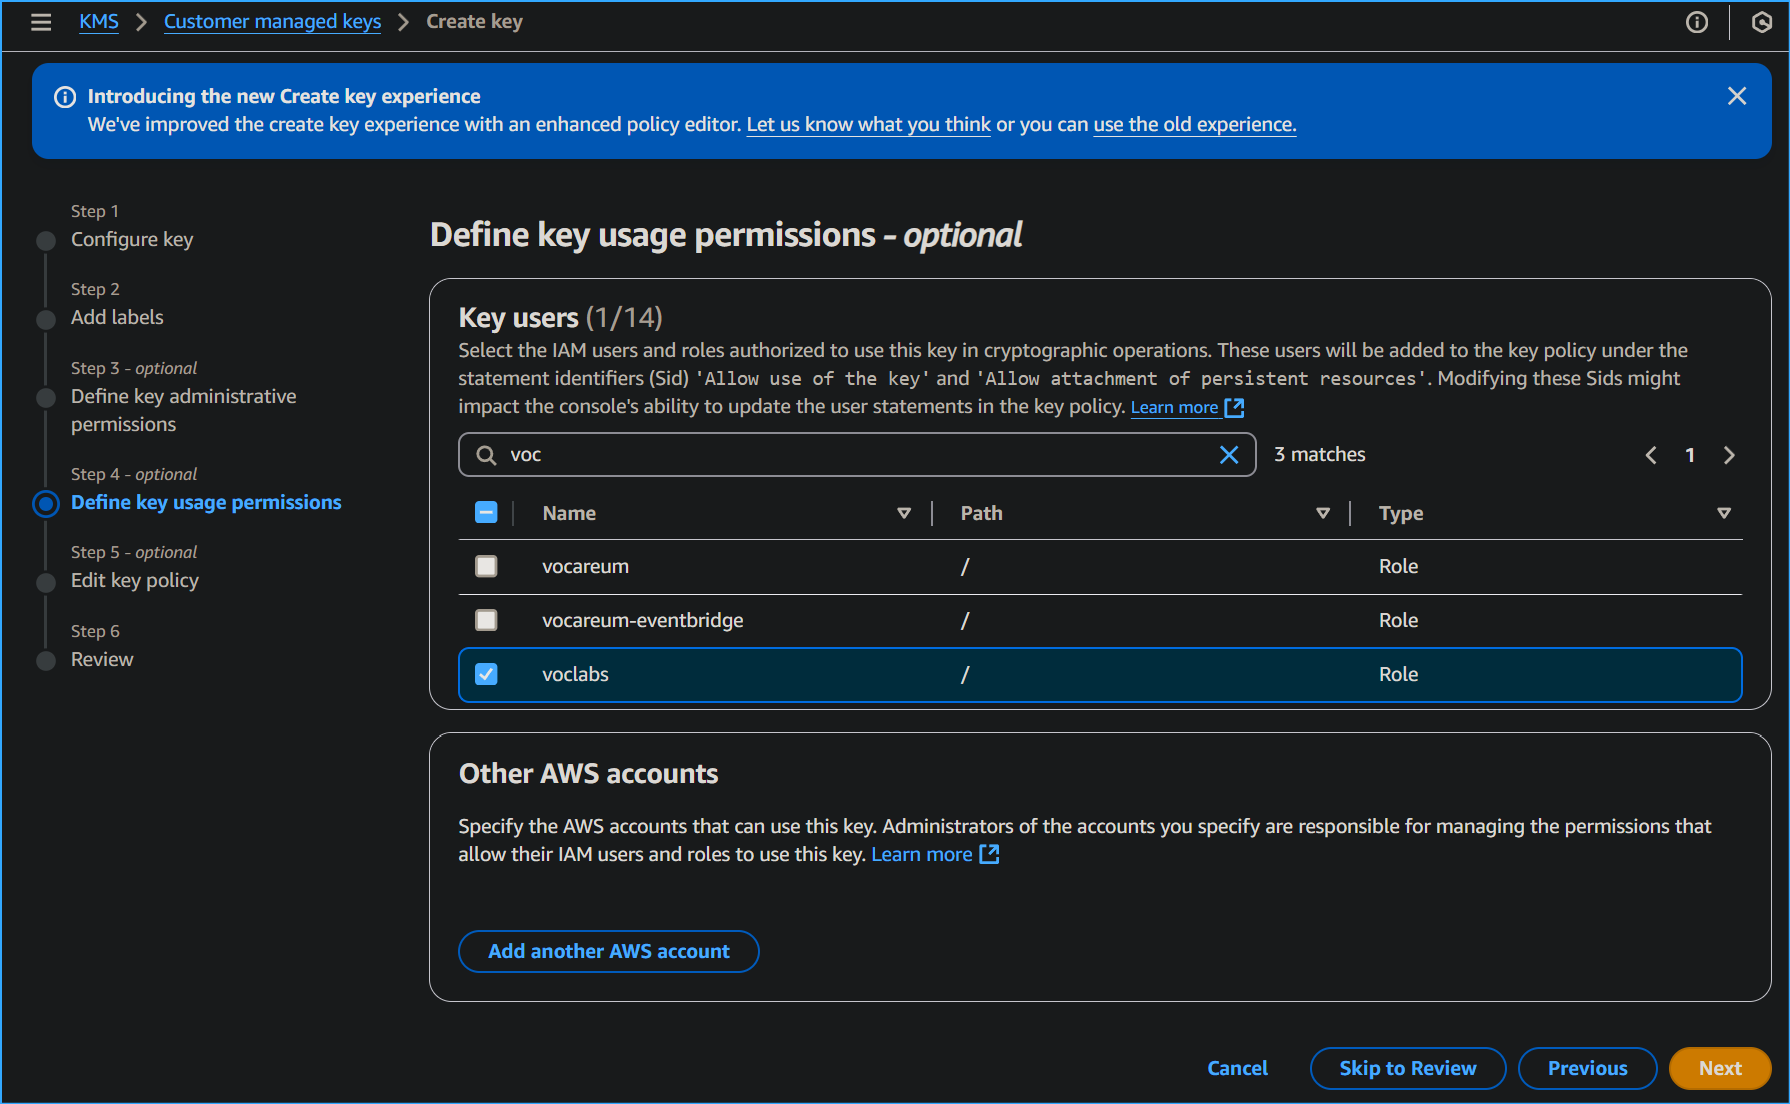
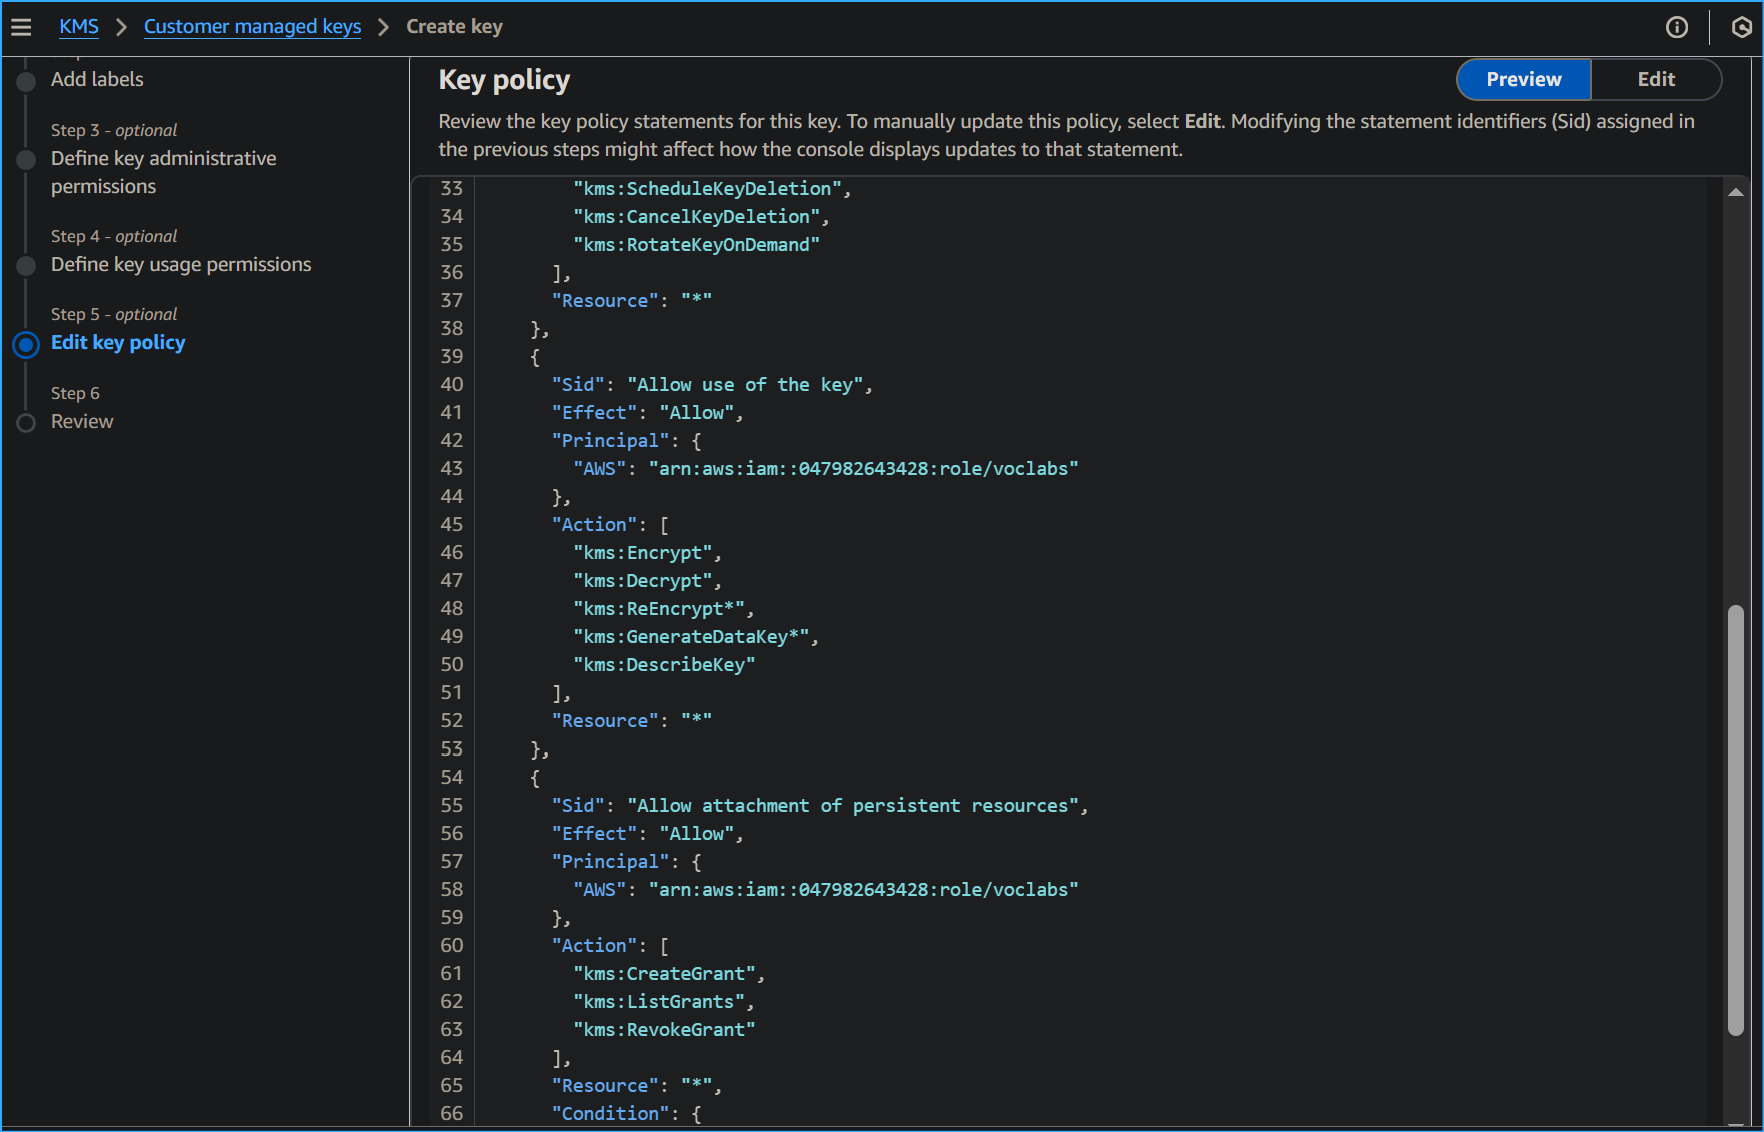
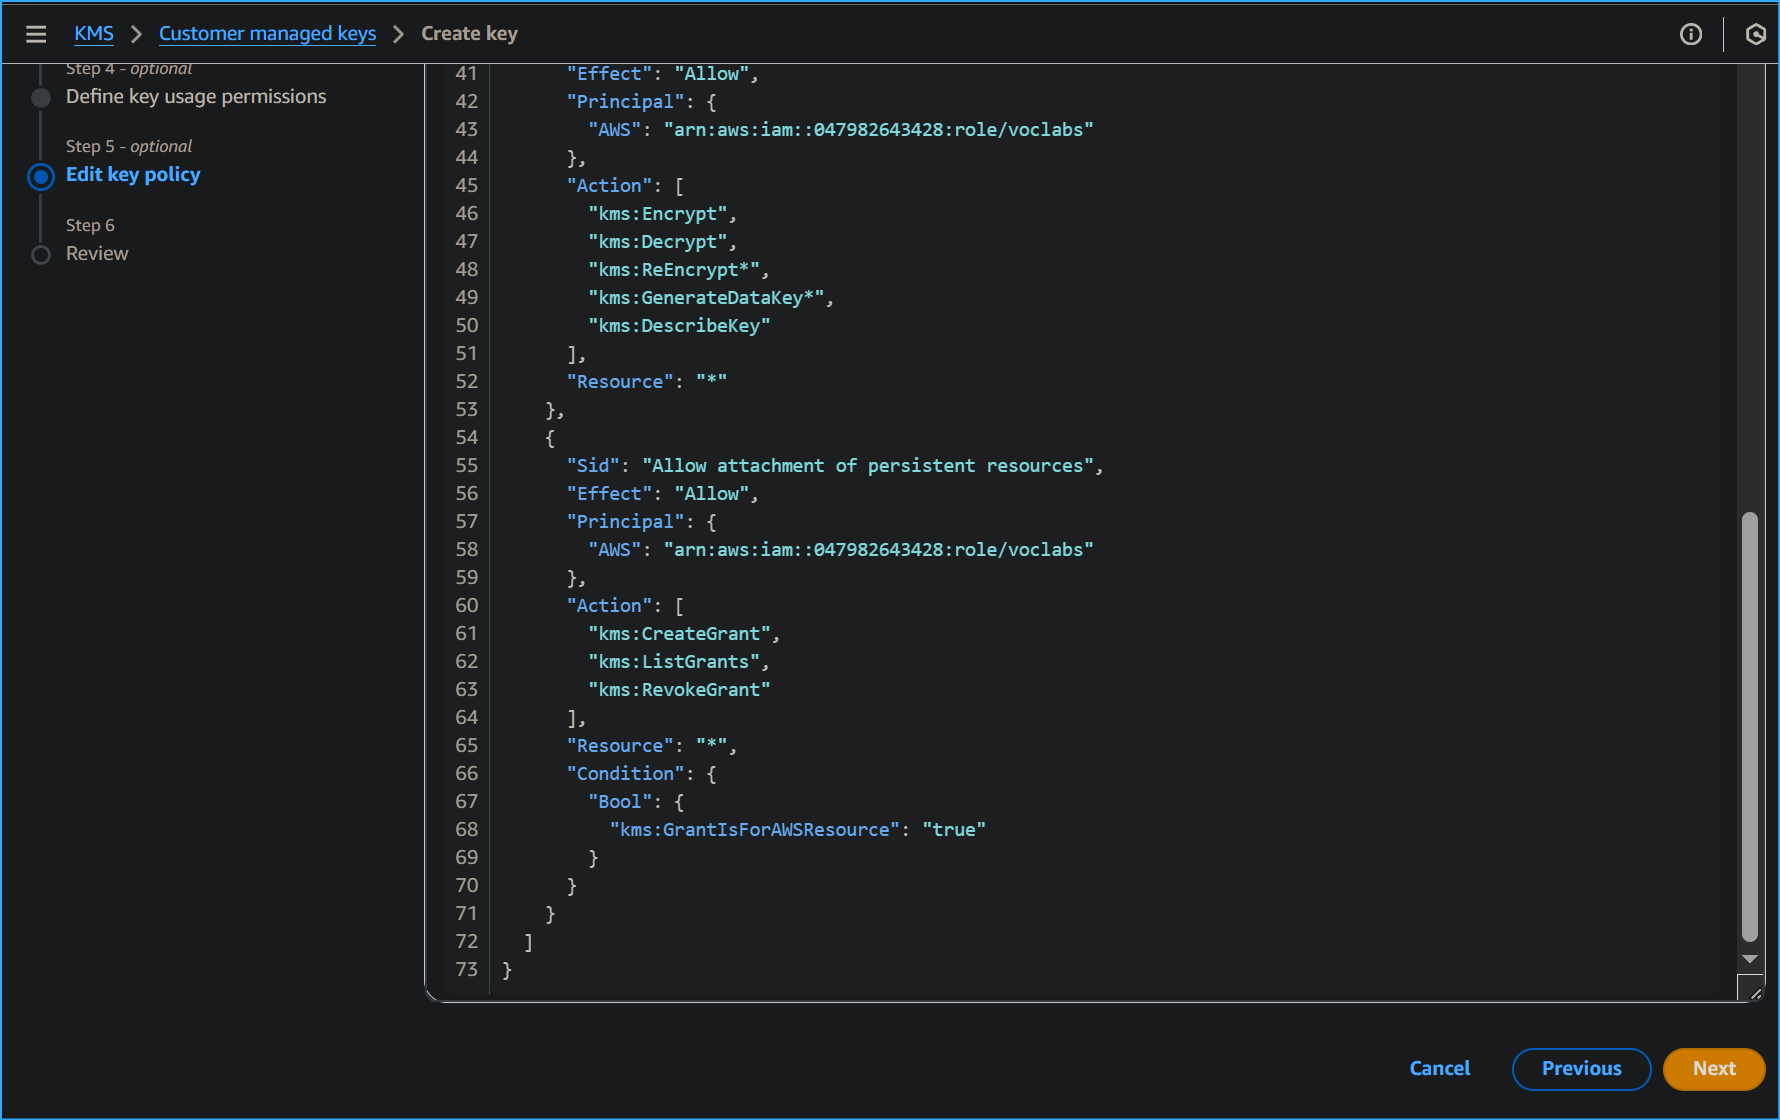
On the Define key usage permissions page, in the This account section, I
searched for and selected the check box for voclabs and then chose Next.
I reviewed the settings, and then chose Finish.
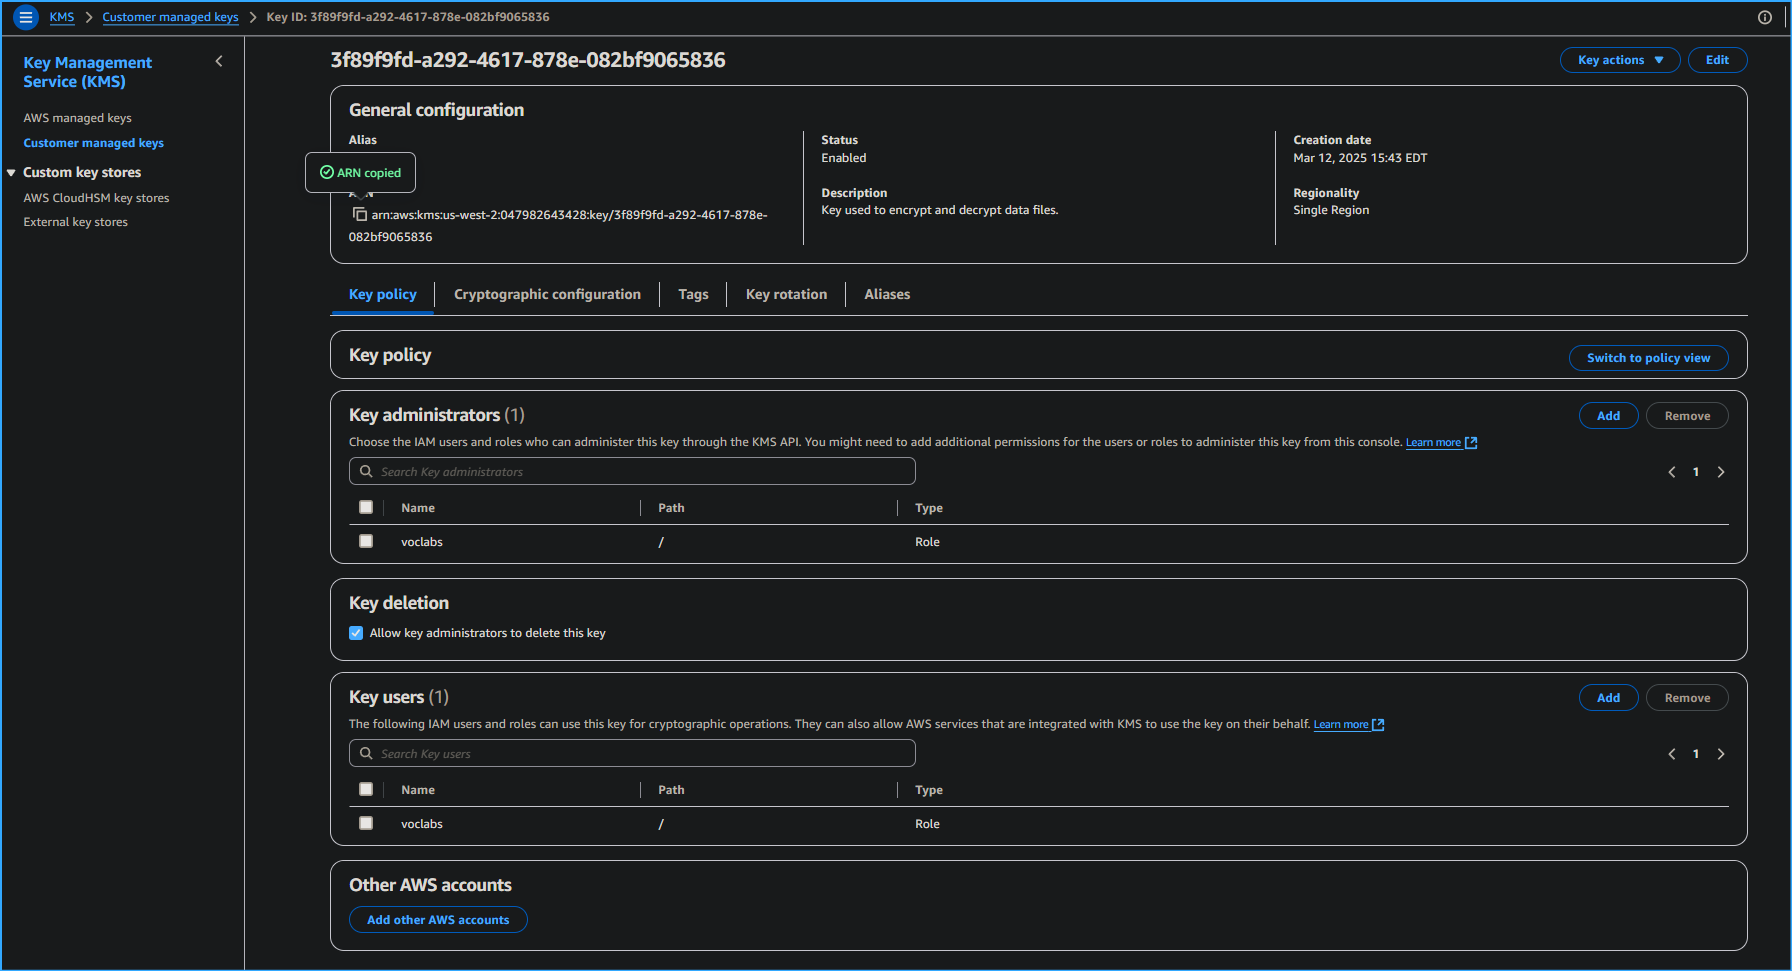
I chose the link for MyKMSKey, which I just created, and copied the ARN
(Amazon Resource Name) value to a text editor.
I used this copied ARN later on.
Summary of task 1
In this task, I created a symmetric AWS KMS key and gave ownership of
that key to the IAM role that was pre-created for this environment.
Task 2: Configure the File Server instance
Before I could encrypt and decrypt data, I needed to set up a few
things. To use my AWS KMS key, I configured AWS credentials on the File
Server EC2 instance. After that, I installed the AWS Encryption CLI
(aws-encryption-cli), which I used to run encrypt and decrypt commands.
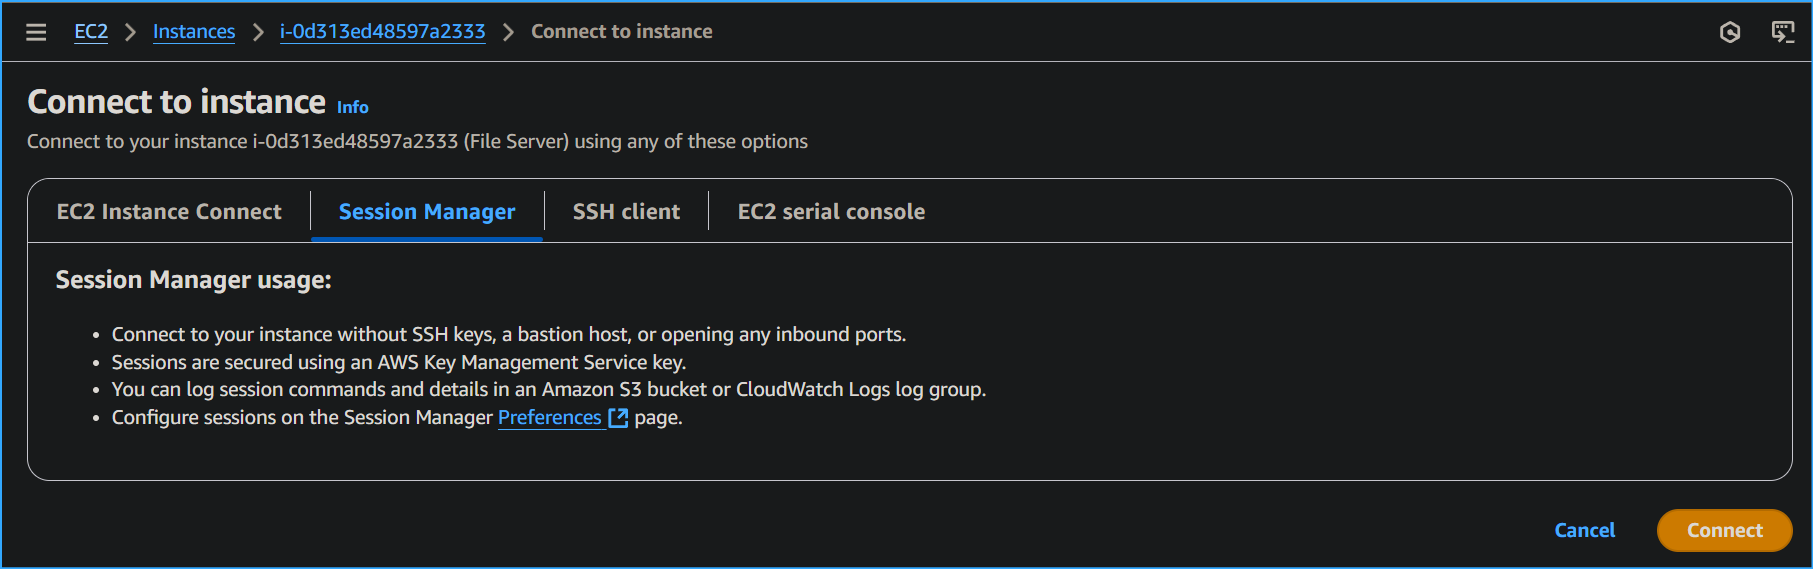
In the console, I entered EC2 in the search bar, and then chose EC2.
In the Instances list, I selected the check box next for the File Server
instance, and then chose Connect.
I chose the Session Manager tab, and then chose Connect.
To change to the home directory and create the AWS credentials file, I
ran the following commands:
cd ~ aws configure
When prompted, I configured the following:
- AWS Access Key ID: I entered 1, and then pressed Enter.
- AWS Secret Access Key: I entered 1, and then pressed Enter.
-
Default region name: I copied and pasted the Region provided from the
Vocareum AWS Details page.
I had to press Ctrl+Shift+V to paste into Session Manager.
- Default output format: I pressed Enter.
The AWS configuration file was created, and I updated it in a later
step. The previous entries of 1 were temporary placeholders.
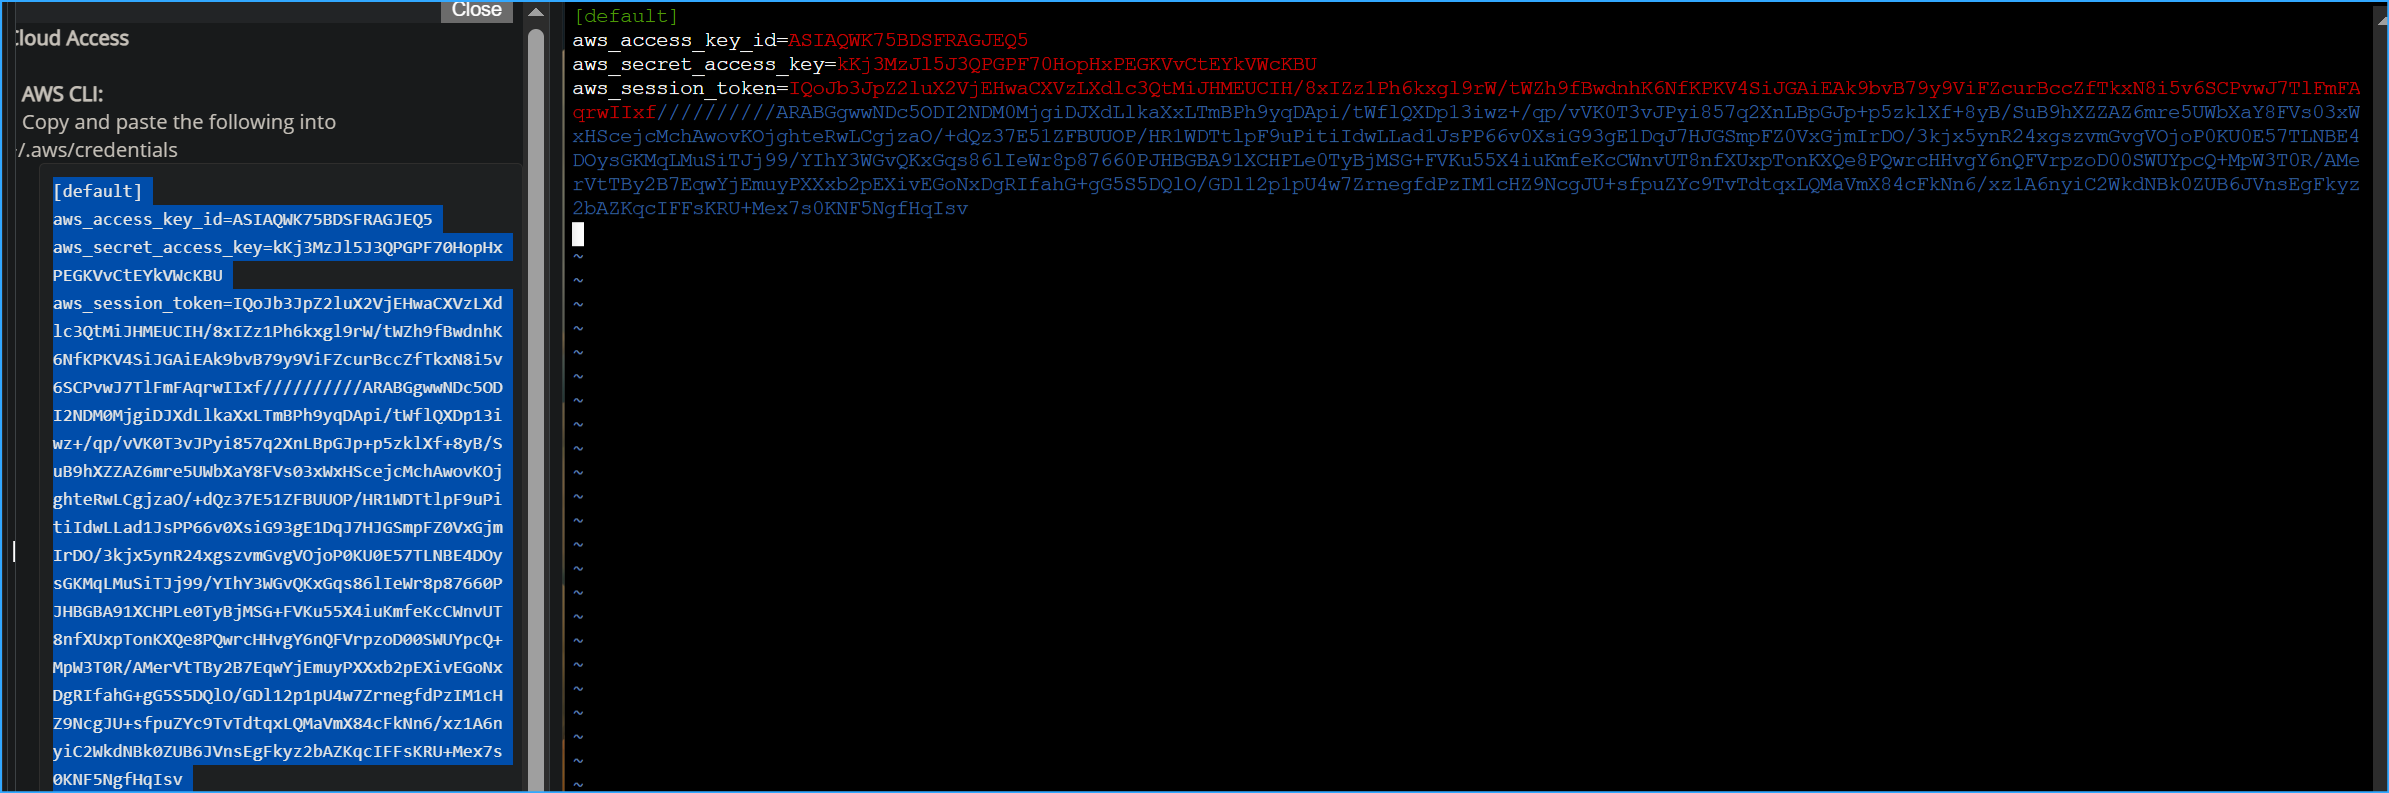
I navigated to the Vocareum console page, and chose the AWS Details
button.
Next to AWS CLI, I chose Show.
I copied and pasted the code block, which starts with [default], into a
text editor.
I returned to the browser tab where I was logged in to the File Server.
To open the AWS credentials file, I ran the following command:
vi ~/.aws/credentials
In the ~/.aws/credentials file, I typed dd multiple times to delete the
contents of the file.
I pasted in the code block that I copied from Vocareum.
The AWS credentials file includes the following: aws_access_key_id,
aws_secret_access_key, and aws_session_token. The credentials used are
from the AWS Details section.
To save and close the file, I pressed Escape, typed :wq and then pressed
Enter.
To view the updated contents of the file, I ran the following command:
cat ~/.aws/credentials
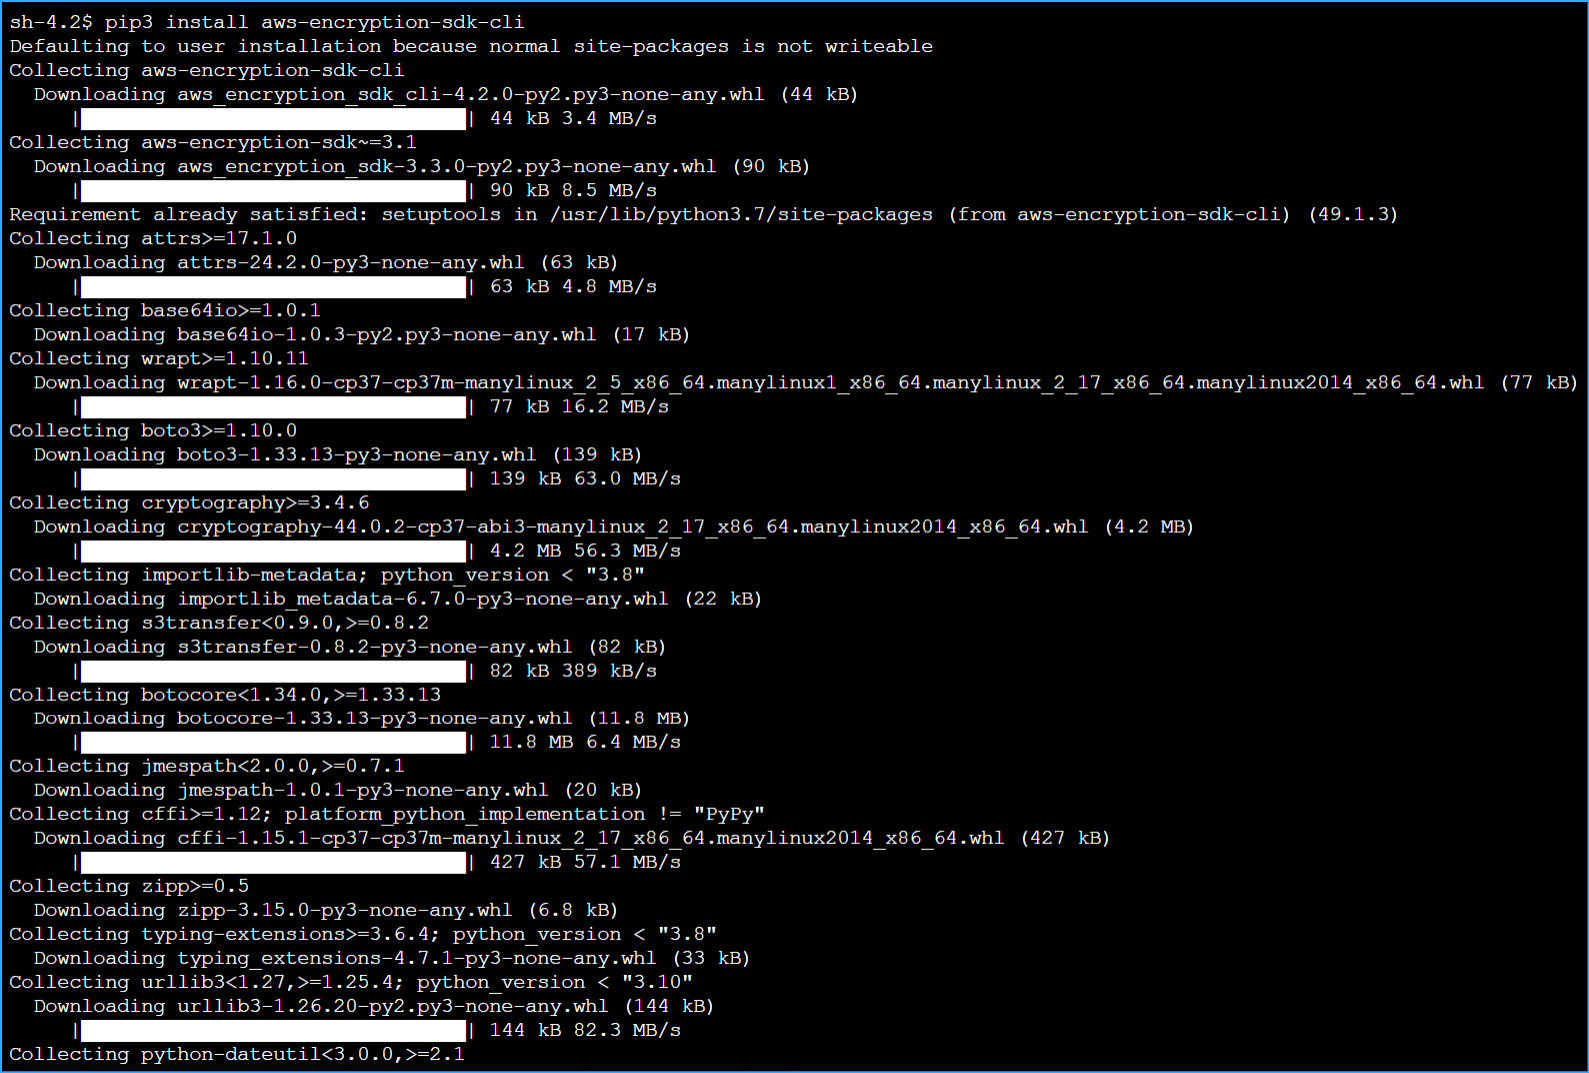
Now I installed the AWS Encryption CLI and exported my path. By doing
this, I was able to run the commands to encrypt and decrypt data.
To install the AWS Encryption CLI and set my path, I ran the following
commands:
pip3 install aws-encryption-sdk-cli export
PATH=$PATH:/home/ssm-user/.local/bin
Summary of task 2
In this task, I configured the AWS credentials file, which provides
the ability to use the AWS KMS key that I created earlier. I then
installed the AWS Encryption CLI, so that I could run encryption
commands.
Task 3: Encrypt and decrypt data
In this task, I created a text file with mock sensitive data in it. I
then used encryption to secure the file contents. Then, I decrypted the
data and viewed the file contents.
To create the text file, I ran the following commands:
touch secret1.txt secret2.txt secret3.txt echo 'TOP SECRET 1!!!' >
secret1.txt
To view the contents of the secret1.txt file, I ran the following
command:
cat secret1.txt
To create a directory to output the encrypted file, I ran the following
command:
mkdir output
I copied and pasted the following command to a text editor:
keyArn=(KMS ARN)
In the text editor, I replaced (KMS ARN) with the AWS KMS ARN that I
copied in task 1.
I ran the updated command in the File Server terminal.
This command saves the ARN of an AWS KMS key in the $keyArn variable.
When you encrypt by using an AWS KMS key, you can identify it by using a
key ID, key ARN, alias name, or alias ARN.
To encrypt the secret1.txt file, I ran the following command:
aws-encryption-cli --encrypt \ --input secret1.txt \ --wrapping-keys
key=$keyArn \ --metadata-output ~/metadata \ --encryption-context
purpose=test \ --commitment-policy require-encrypt-require-decrypt \
--output ~/output/.
The following information describes what this command does:
-
The first line encrypts the file contents. The command uses the
--encrypt parameter to specify the operation and the --input parameter
to indicate the file to encrypt.
-
The --wrapping-keys parameter, and its required key attribute, tell
the command to use the AWS KMS key that is represented by the key ARN.
-
The --metadata-output parameter is used to specify a text file for the
metadata about the encryption operation.
-
As a best practice, the command uses the --encryption-context
parameter to specify an encryption context.
-
The –commitment-policy parameter is used to specify that the key
commitment security feature should be used to encrypt and decrypt.
-
The value of the --output parameter, ~/output/., tells the command to
write the output file to the output directory.
When the encrypt command succeeds, it does not return any output.
To determine whether the command succeeded, I ran the following command:
echo $?
If the command succeeded, the value of $? is 0. If the command failed,
the value is nonzero.
To view the newly encrypted file location, I ran the following command:
ls output
The output looked like the following:
secret1.txt.encrypted
To view the contents of the newly encrypted file, I ran the following
command:
cd output cat secret1.txt.encrypted
The encryption and decryption process takes data in plaintext, which is
readable and understandable, and manipulates its form to create
ciphertext, which is what I was now seeing.
When data has been transformed into ciphertext, the plaintext becomes
inaccessible until it's decrypted.
A symmetric key and algorithm are used to convert a plaintext message
into ciphertext.
I pressed Enter.
Next, I decrypted the secret1.txt.encrypted file.
To decrypt the file, I ran the following commands:
aws-encryption-cli --decrypt \ --input secret1.txt.encrypted \
--wrapping-keys key=$keyArn \ --commitment-policy
require-encrypt-require-decrypt \ --encryption-context purpose=test \
--metadata-output ~/metadata \ --max-encrypted-data-keys 1 \ --buffer \
--output .
To view the new file location, I ran the following command:
ls
The secret1.txt.encrypted.decrypted file contained the decrypted
contents from the secret1.txt.encrypted file.
To view the contents of the decrypted file, I ran the following command:
cat secret1.txt.encrypted.decrypted
After successful decryption, I could now see the original plaintext
contents of the secret1.txt.
The same secret key and symmetric algorithm from the encryption process
are used to decrypt the ciphertext back into plaintext.
Conclusion
I now have successfully:
- Created an AWS KMS encryption key
- Installed the AWS Encryption CLI
- Encrypted plaintext
- Decrypted ciphertext
×
![]()
 Symmetric Key Encryption
 Symmetric Key Decryption
 Configuring KMS Key
 Adding Labels
 Defining Key Admin Permissions
 Defining Key Usage Permissions
 Key Policy One
 Key Policy Two
 Key Policy Three
 Copied KMS Key ARN
 Connecting to File Server Instance via Session Manager
 Pasting AWS CLI Credentials into VIM File
 Installed AWS Encryption SDK CLI One
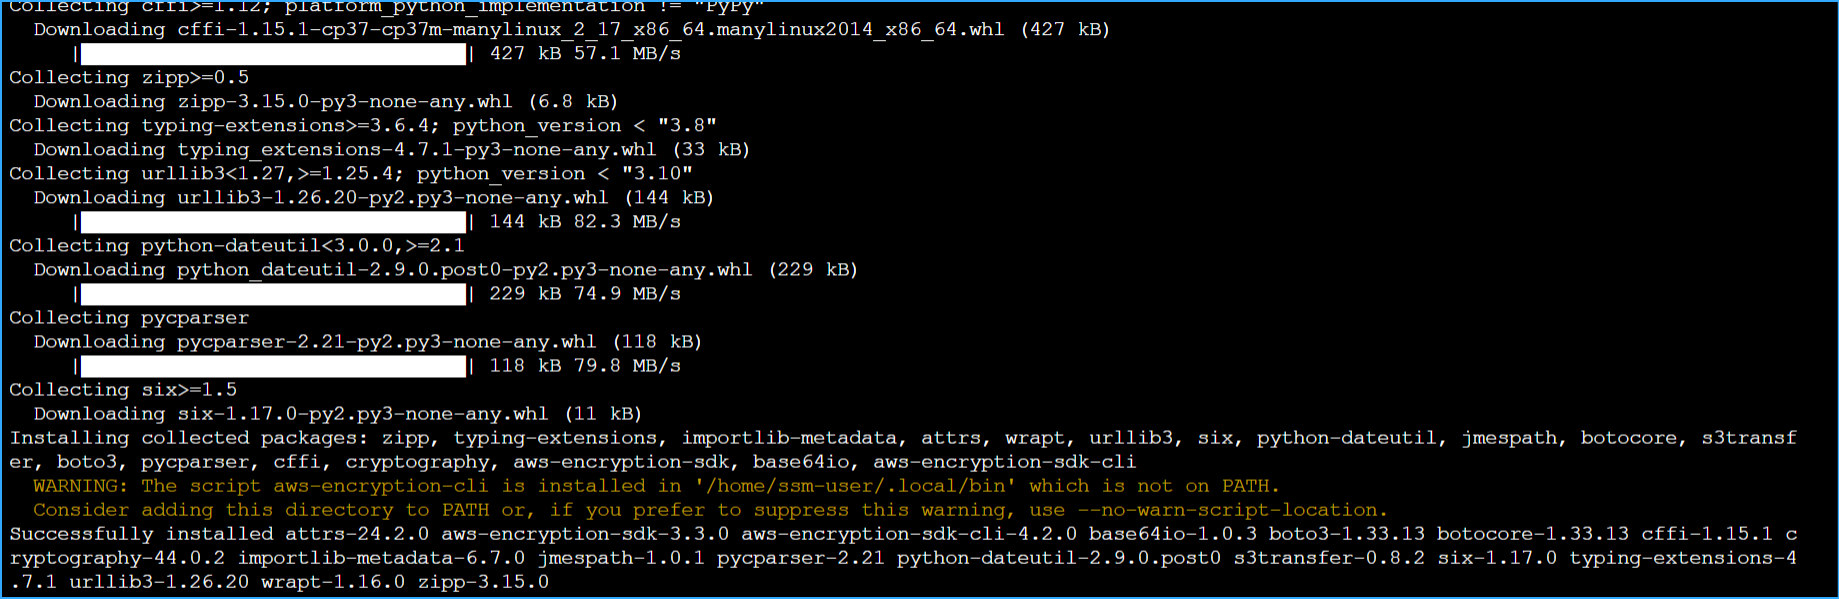 Installed AWS Encryption SDK CLI Two
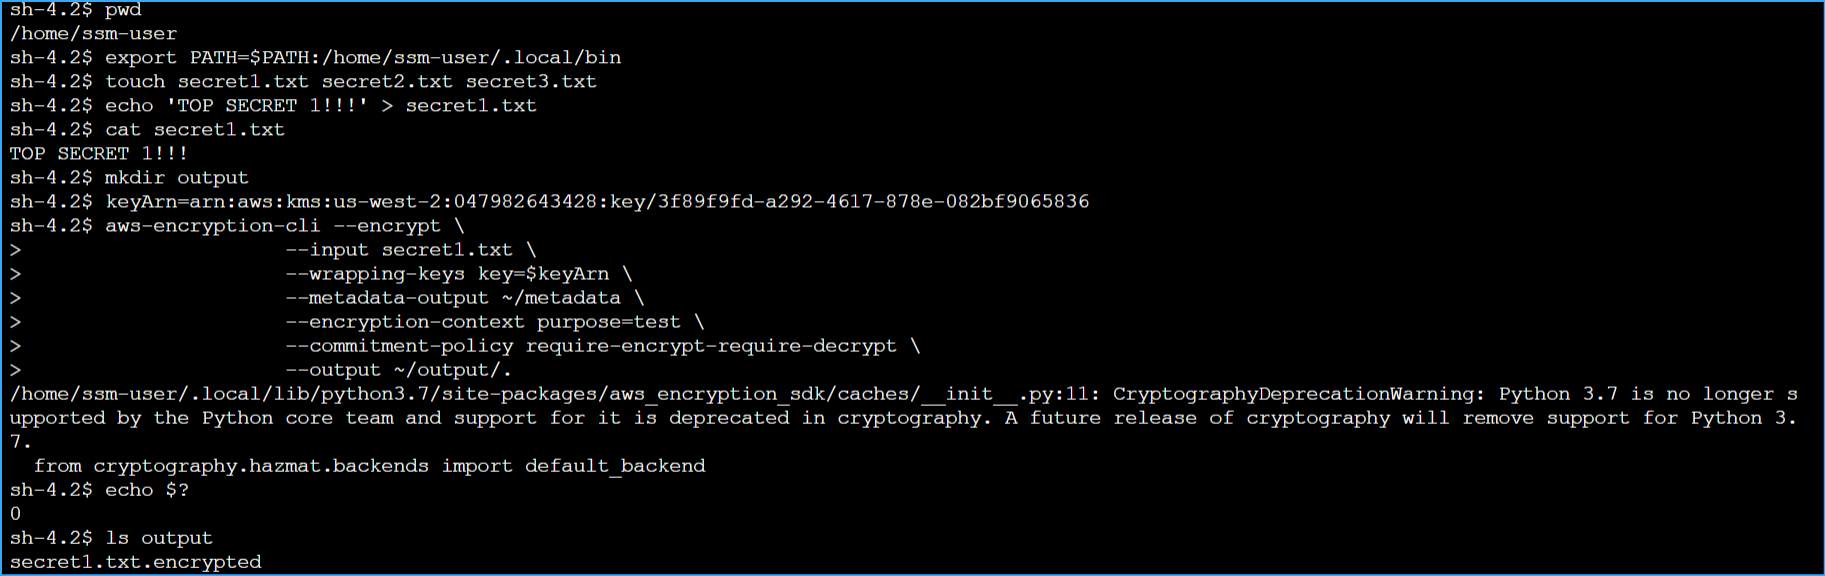 Exported SDK to Path Created Files Made Dir Setting Variables
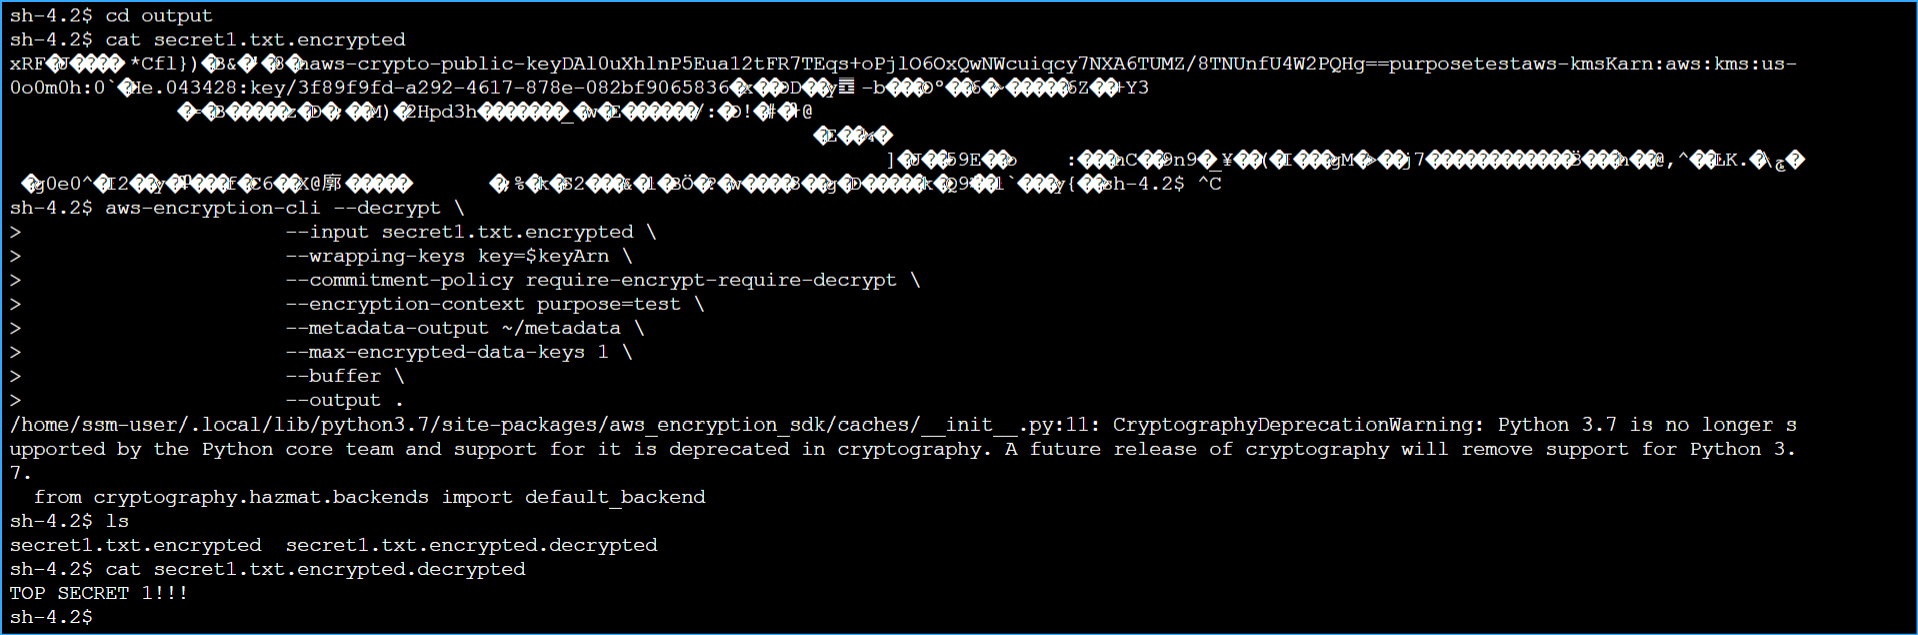 Encrypted and Decrypted Files